
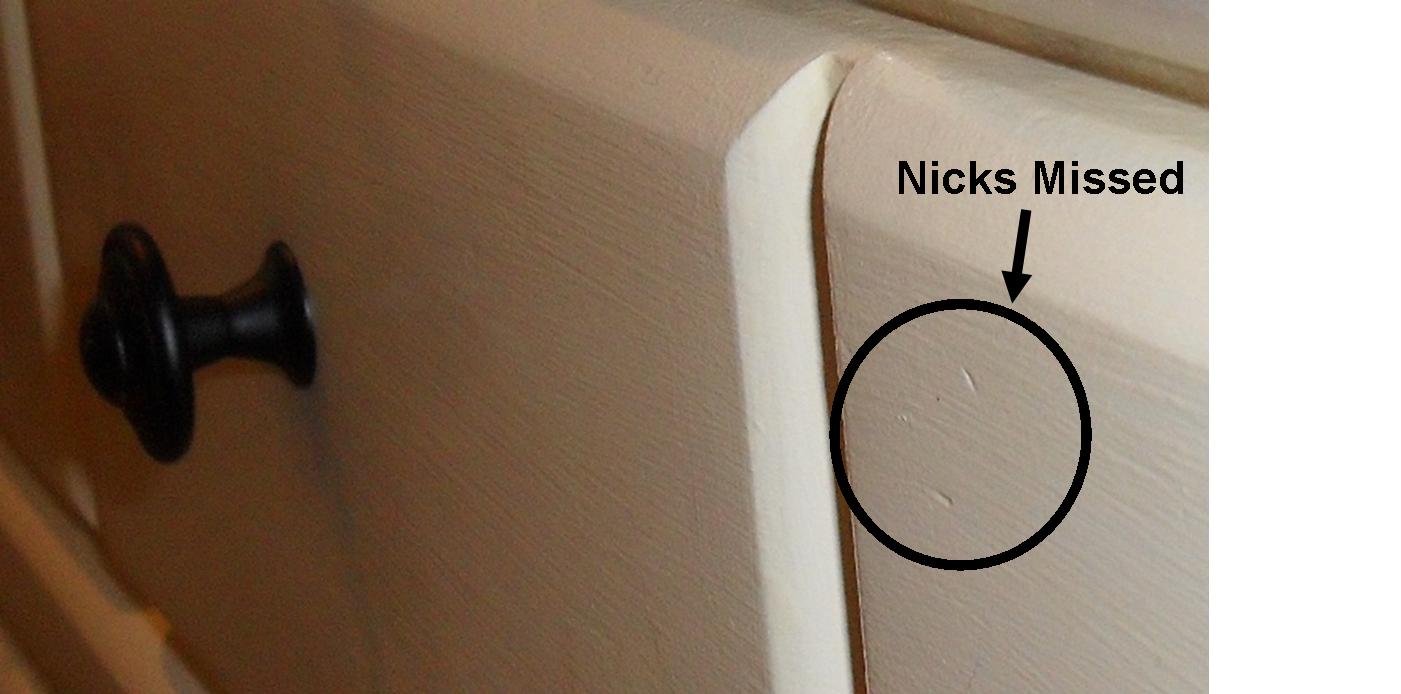
Really wish I had thought about taking a photo at this point. Anyway, I then inspected every inch of the dresser covering any scratch or ding with wood filler. Any scratches you try to paint over will not be hidden which is why taking the time to cover any blemishes now is key. Remember, I wanted these dressers to look brand new. From this photo, you can see I still missed some nicks. I think it adds character. Plus, as you can see they are tiny and noticeable only in certain light.
After the second round of wood filler dried, I sanded again, this time with 220 grit paper. Once again, I inspected everything just to make sure I didn’t miss any nicks or dings before I started painting. Before you paint, make sure to wipe the wood clean – you don’t want any dust messing with the look of your finish! I used an old rag and a dab of mineral spirits.
Up next…painting! First I primed everything. After waiting for the primer to dry I painted with Kilz antique white in an eggshell finish. Not sure why I chose the eggshell finish but after the second coat of paint dried I could tell the finish would mark up easily. Case in point, if you scratched a finger nail on the finish a black mark would appear.
After some online research I decided to put a third coat of paint on and then put a final coat of clear semi-gloss polyurethane. Why semi-gloss? The egg shell finish just wasn’t doing it for me. Much like watching the Chicago Bulls miss shot after shot in the 4th quarter of a play-off game.
The directions on a can of polyurethane tell you to sand lightly between coats. I didn’t do that. Kind of like how Britney Spears was told to put on underwear before stepping out of the car in a short skirt. I also didn’t put three coats on as the directions stated. At this point I was tired of all the painting and sanding and decided to risk it.
And you know what? We’ve been living with these dressers in our house for two months and haven’t had any scratches. My Dad explained it’s probably because I primed and put on three coats of paint before finishing it off with polyurethane. Might the coat of polyurethane need to be replaced? Perhaps after a significant period of time, but time will tell. Here is the finished product of the second dresser:

After reading this how to, does re-finishing a piece of wood furniture seem difficult?
Run down of costs:
Two dressers: Free
Primer: Already owned
Paint Brushes/Roller: Already owned
Antique White Paint: $25
Polyurethane: $5
Knobs and Pulls: $47
Elmer’s Wood Filler: $5
Grand Total: $82
Not bad for two dressers. An added bonus is I now have leftover wood filler, paint and polyurethane for future projects.
No comments:
Post a Comment